©2026 Chris McWain
Build a Monster Gaming PC
July 2, 2025 at 13:45
Overview
I wanted something powerful enough to handle 4K gaming and remote play, while also looking good enough to sit next to the TV. The Ryzen 9800X3D and RTX 5080 might be overkill, but the performance was absolutely worth it. I didn’t realize how amazing ray tracing was until I saw it in Hitman 3. We should’ve built one of these a long time ago!
Parts List
| Component | Details |
|---|---|
| CPU | AMD Ryzen 7 9800X3D 4.7 GHz 8-Core |
| CPU Cooler | be quiet! Light Loop Liquid Cooler |
| Motherboard | Asus ROG STRIX B850-I GAMING WIFI Mini ITX AM5 |
| Memory | Corsair Vengeance 96 GB (2 x 48 GB) DDR5-6400 CL32 |
| Video Card | Gigabyte AERO OC SFF GeForce RTX 5080 16 GB |
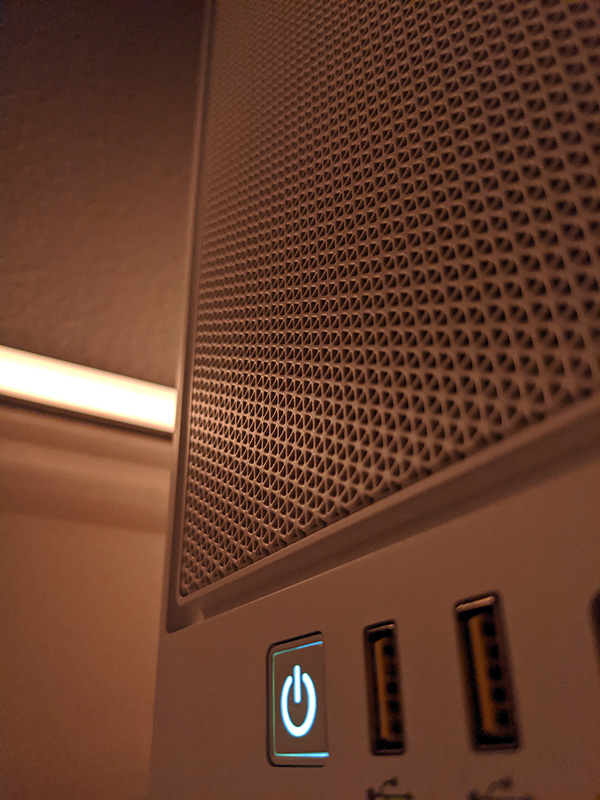
| Case | Corsair 2000D AIRFLOW Mini ITX Tower |
| Power Supply | Cooler Master V850 SFX GOLD 850 W 80+ Gold Certified Fully Modular SFX |
The Build
CPU Benchmarks ranks the AMD Ryzen 7 9800X3D as the third most popular CPU with gamers. It has a good balance between price and performance while being near the top of performance lists.
The GPU is a different story. If you want to play the latest games at high quality, any decent graphics card will cost a lot. The RTX 5080 was the most expensive part of the build, but it absolutely crushes in gaming performance.
The rest of the system is supportive hardware. The motherboard is maxed out with 96 GB of RAM, and the PSU is just powerful enough to push everything. There’s also a 2TB SSD, and the case looks pretty too.
Although, the case was a pain in the ass to work with. It’s beautiful to look at, but it was a journey getting everything to work together well. It’s vertical and has little room to work with inside. There are plenty of questionable design decisions - like having to route the power cable around the side and having the motherboard IO at the bottom facing downward. I dig the white color though.

Software & OS Setup
As mentioned in a recent blog post, I took the opportunity to slim down Windows 11 significantly. NTLite is an awesome and free tool to customize a Windows 11 install before it ever touches your system. They offer guides for all skill levels. It’s intuitive enough to fart around with and get things close to where you want, without having to read pages of boring engineering docs.

At the end of the NTLite process, you’ll end up with an ISO image. You can write that to a USB drive with Rufus (easy), drop it on a Ventoy USB drive (medium), or place it in an iVentoy directory somewhere on your network (advanced). Any of these will get you up and running quickly.
Once Windows boots for the first time, your first move should be to run Chris Titus’s Tech Tool. Launch PowerShell from the Start Menu, right-click it, and select Run as Administrator. When the Windows “Security” prompt appears, paste this command:
iwr -useb https://christitus.com/win | iex
After some loading, the tool launches and walks you through a lot of customization options.
I prioritize removing as much Windows bloat as possible and save tweaks and update mods for last. If you’re installing Photoshop or have Razer hardware, install those first, then run the debloat tweaks after. I continue using this tool after its first run, so it’s a good idea keep that PowerShell command handy. It also helps to get familiar with services.msc to fine-tune the system even further.

You can find links to all these tools and more tips at mcwain.net/collections.
Performance & Thermals
The PC case kind of looks like a soup strainer - which makes it great for airflow. The be quiet! AIO CPU cooler moves air around efficiently and keeps everything cool. My previous gaming PCs were fairly loud when playing AAA games, but this one is nearly silent. That was initially concerning, so I tweaked the fan performance in the BIOS to keep things cooler than stock.
Here are some benchmark numbers, if you’re into that sort of thing. Personally, I just care that we can play everything at 4K 60fps with no noticeable lag. I’m sure there’s room to tweak performance more, but my overclocking days are behind me. Drawing pencil lines on an Athlon to unlock clocks just sounds exhausting now.
Geekbench CPU

Geekbench GPU OpenCL

Geekbench GPU Vulkan

Meat & Potatoes
As mentioned earlier, this build was all about enabling remote play. We installed Moonlight and Sunshine so games can stream to almost any device. My son uses an Nvidia Shield (Android TV) for YouTube, Twitch, and Plex, but now there’s an app that easily connects him to this machine. Navigating to an app and plugging in a controller is a lot easier than teaching him Windows. I’m in my 40s, have worked with computers most of my life, and I’m still not sure *I* understand how Windows works.
Moonlight is amazing. We stream from the gaming PC to tablets, phones, and even TVs. The streaming software has controller support and virtually no lag. Upgrading our network recently helped a lot with that.
The 8BitDo controllers he used previously didn’t connect with the Shield + Moonlight, so we upgraded to four Xbox Core controllers in different colors. We have blue and pink for the kids, and mine is this electric yellow neon thing that looks pretty dope.
Conclusion & Lessons
This setup has been a total game-changer. It plays everything we want and makes games super accessible. One huge benefit I have yet to mention, is that all updates, installs, and tweaks is handled on one machine. There’s no need to manage multiple gaming boxes. So this is saving us money, right?
Questions or comments?