©2026 Chris McWain
Replace and Upgrade your Anbernic RG353V Battery
July 1, 2026 at 13:09
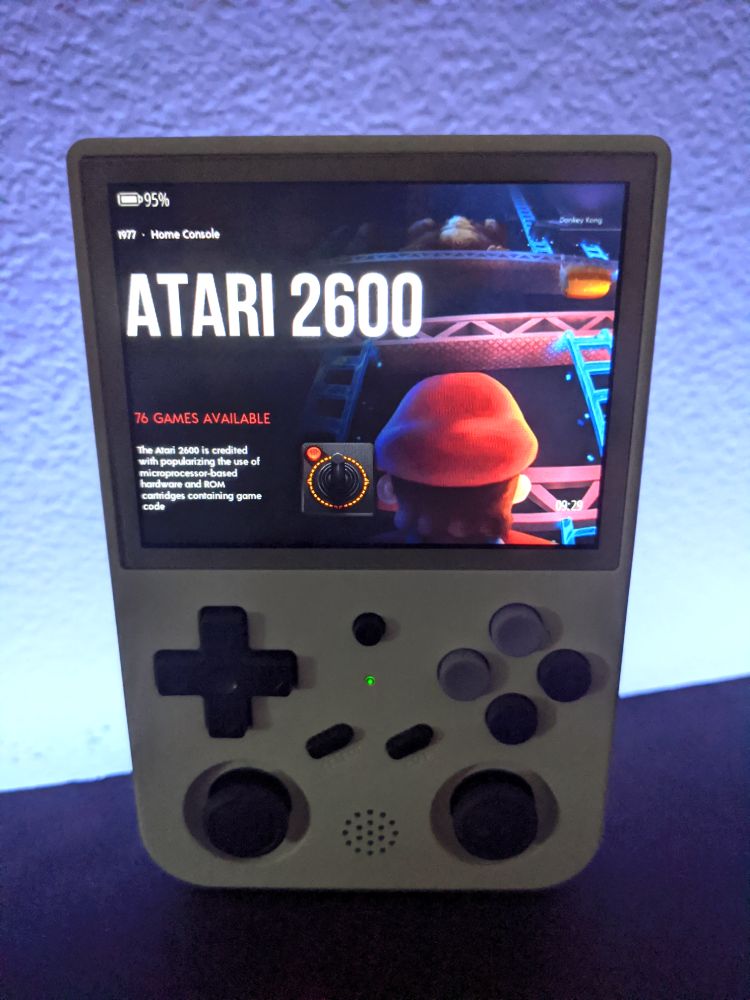
I’ve been playing on my RG353V for years now. It goes with me on every trip - whether it’s to Yosemite or the bathroom. It’s where retroachievements are earned and how I discover new games on platforms I didn’t have as a kid. The problem is that after all these years, the stock battery isn’t what it used to be. Charging the device to 100% rarely lets me play more than 30 minutes or so.
Anbernic’s stock battery runs for ~$8 on their site but has been sold out for a while. The original battery (if I remember correctly) would last through a multi-hour play session. In fact, I beat Link’s Awakening on a single charge. Now the battery doesn’t last through a session of Berzerk or Sqoon. Although, it makes me feel like a kid again, playing on a Game Boy with 4 AA batteries and squeaking out the last few minutes of a Tetris round while the screen slowly dims.
So for this project, I decided to also upgrade the failing stock 3500mAh battery to a shiny new 4000mAh. Data centers are driving up prices of memory and hard drives, but they aren’t touching hobby batteries, so these are all very inexpensive no matter which route you take. The idea of having a slightly longer play time on a full charge was worth the effort not going fully stock on this project.
Parts
Here’s what I used and would recommend.
- iFixit Pro Tech Toolkit
- Hakko digital soldering iron
- Battery replacement
- JST 1.25mm 2-pin adapter (10-pack) (required for the 4000mAh upgrade)
- Kapton tape
Steps
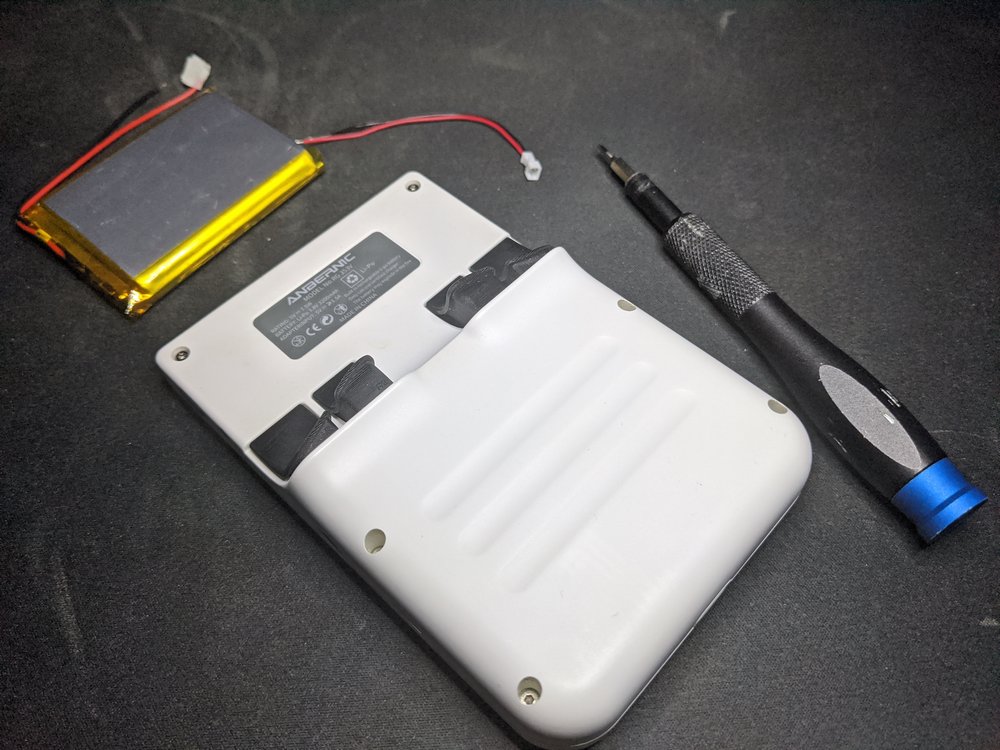
- Turn off the RG353V
- Open the device by removing 6 hex screws around the back side
- Slowly open the two halves so we don’t damage the wires
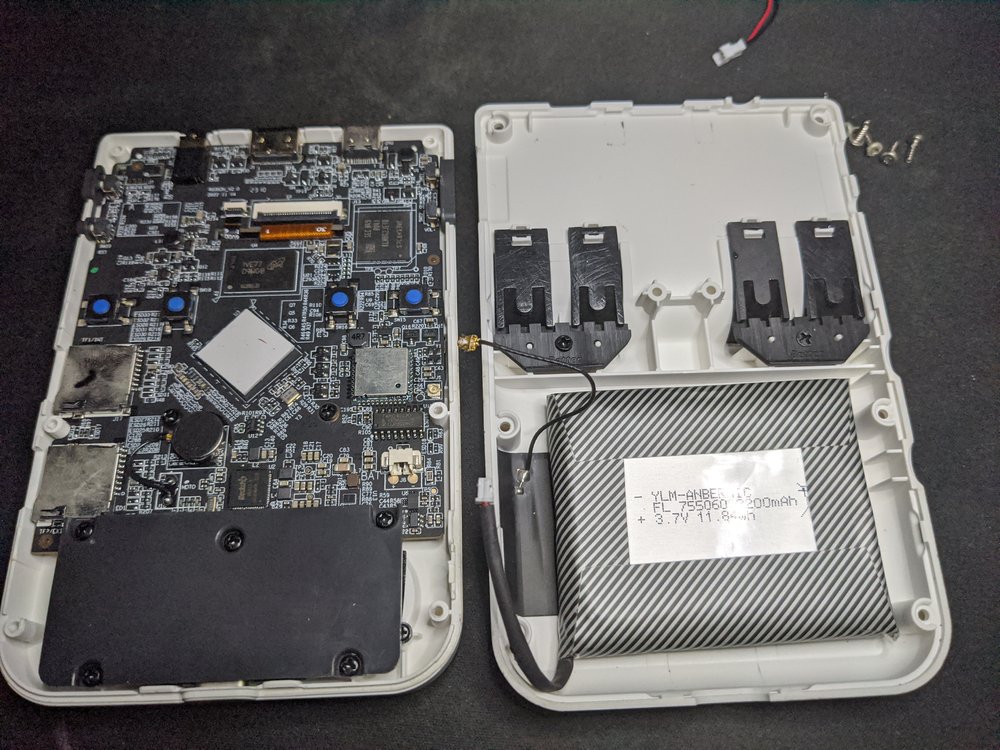
- Disconnect old battery connector and the fragile antenna wire
- Physically remove old battery - careful not to bend it
- Prep the battery (non-optional if you’re upgrading to a 4000mAh)
- Solder the JST adapter red to red, black to black, then wrap each wire individually with Kapton tape so the connections don’t touch
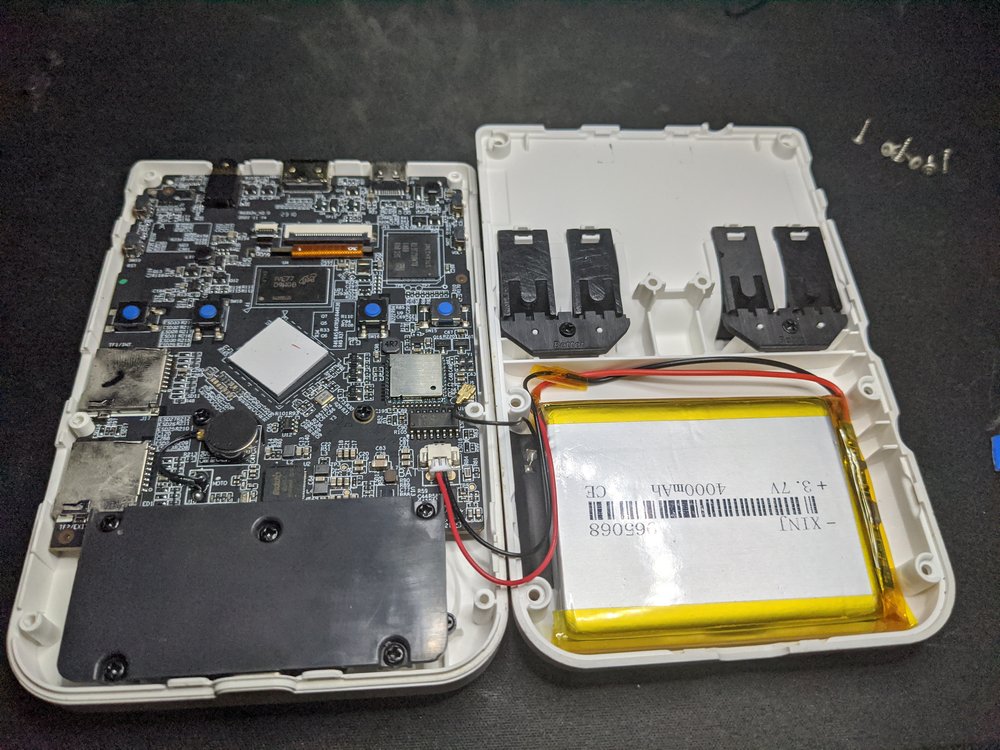
- Position new battery and connect to board
- Close it all up
There is no included connector on the upgraded battery. Smaller adapter wires that fit the RG353V board are listed in the parts section above. Kapton tape is nice to have around for projects like this as it electrically separates components and wires, and keeps things in place so they don’t shift around.
When positioning the new battery, I found it helps to keep it closer to the bottom right of the open space. That way we can have some room to snug the wires and allow the device to close with less issue. This is especially important with a physically larger battery. Cable management is always critical in projects like this.
Remind yourself to put the power and volume button pads back and that you test the battery works before closing it up. Honestly the most difficult part was firing up the soldering iron and figuring out where the wires should be tucked so the device closes. This device is always easy to work on, I didn’t have to set more than 20 minutes aside today to get this completed.
Done
The 4000mAh battery upgrade makes the RG353V noticeably heavier. I think since this thing gets a lot of use that any small change is noticeable. It powers up, charges quickly, and is currently sitting at 100%. I’ll get some decent play sessions in first before reporting on how long it lasts. Either way, it was a necessary fix and the increased battery capacity is a nice perk. I highly recommend you do the same even if you’re a complete novice or haven’t soldered before. Soldering is easy enough to quickly pick up and is an incredibly useful skill to have in your library.
Resources
Questions or comments?